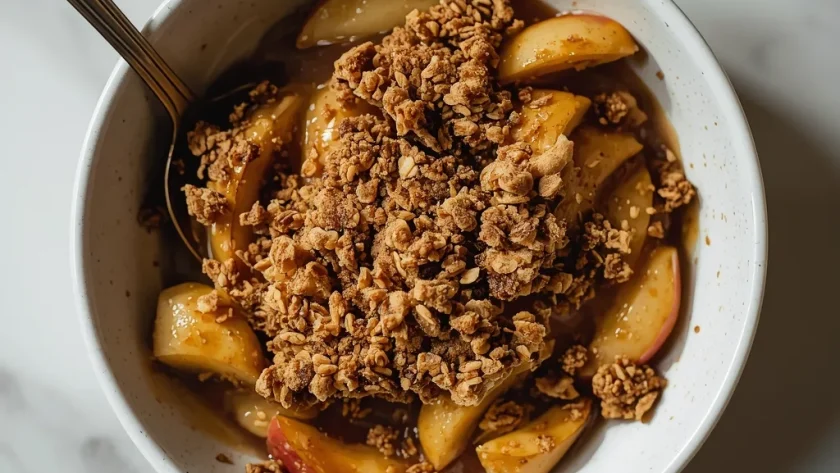
There are few desserts as reliably comforting as a warm apple crisp. This version, inspired by Ina Garten, is my go-to for a simple, satisfying treat. It balances tender, spiced apples with a buttery, crunchy oat topping in a way that feels both classic and special.
With about 25 minutes of prep and just under an hour in the oven, it’s a manageable project for a weeknight or a centerpiece for a casual weekend gathering. The result is a quintessential American dessert that fills your kitchen with the best kind of autumn aroma.
Ina Garten Apple Crisp Overview
An apple crisp is a humble, homey dessert that celebrates the fruit at its peak. While its exact origins are debated, it’s a staple of American home baking, often seen as a simpler cousin to the pie. What makes this recipe stand out is its perfect textural contrast.
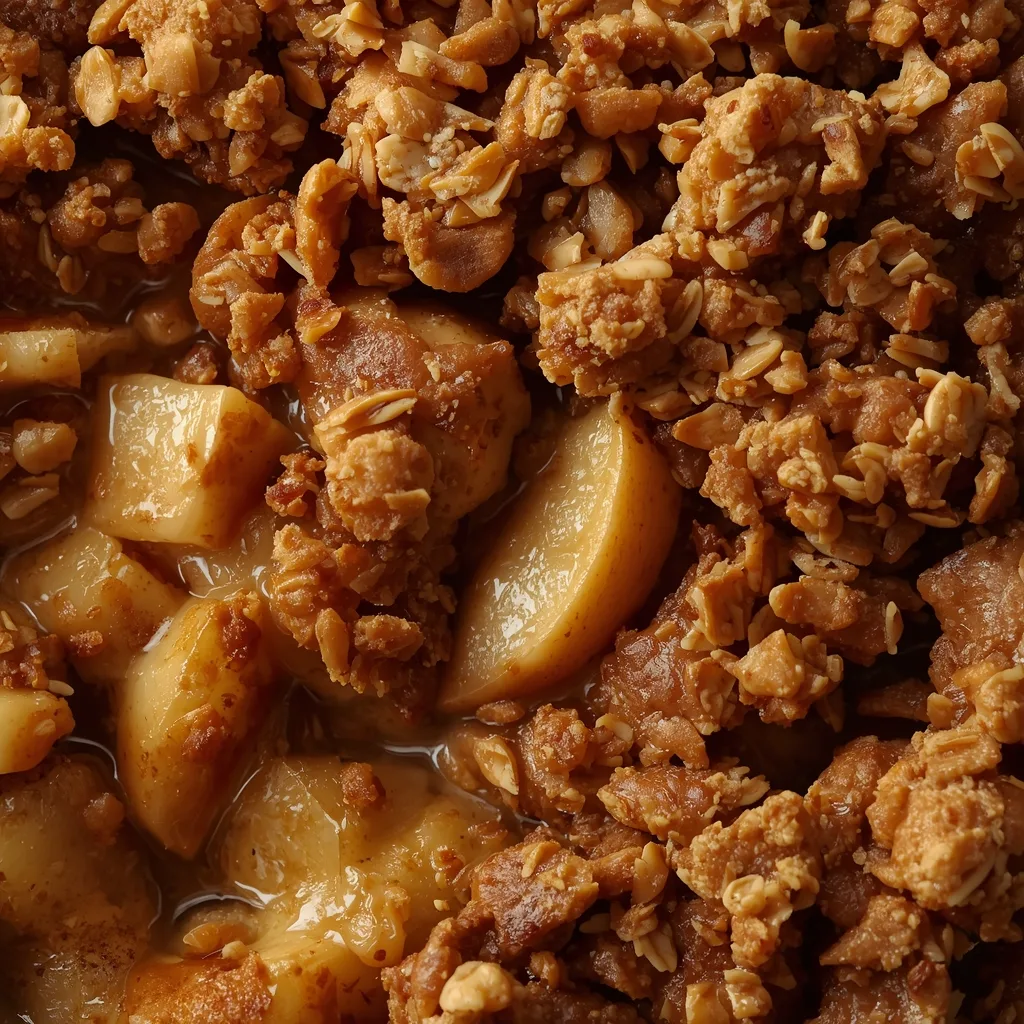
The filling becomes soft and saucy, while the streusel topping bakes into distinct, golden-brown crumbles. It’s less fussy than a lattice-top pie but delivers every bit of the cozy satisfaction. I find it’s the ideal dessert when you want something impressive that doesn’t require rolling out dough.
Why This Recipe is Worth Trying
If you’re on the fence about which apple dessert to make, here’s what convinced me to keep this one in my regular rotation.
- Effort-to-Reward Ratio — You get a dessert that tastes like you spent all day baking, but the active work is done in under half an hour.
- Forgiving Nature — Unlike pie crust, the streusel topping is hard to mess up. A few uneven lumps of butter actually improve the texture.
- Crowd-Pleasing Simplicity — The flavors of cinnamon, brown sugar, and baked apples are universally loved, making it a safe bet for any group.
- Adaptable Base — Once you master the core recipe, it’s easy to swap in different fruits, spices, or nuts to make it your own.
- Make-Ahead Friendly — You can assemble the crisp a few hours before baking, or bake it fully and reheat it later with great results.
Ingredients You’ll Need for This Recipe
Gathering your ingredients before you start is the first step to a stress-free baking session. Here’s what you’ll need, broken down by component.
For the Apple Filling
- 2 1/2 pounds Granny Smith apples — Their tartness and firm texture hold up beautifully during baking, preventing a mushy filling. About 5-6 medium apples.
- 1 tablespoon fresh lemon juice — This adds a bright note and keeps the apples from turning brown as you prep. Bottled juice works in a pinch.
- 1/3 cup granulated sugar — Sweetens the tart apples just enough without making the filling cloying.
- 2 tablespoons all-purpose flour — The key to a saucy, not watery, filling. It thickens the juices the apples release.
- 1 teaspoon ground cinnamon — The essential warm spice that defines the flavor profile.
- 1/4 teaspoon freshly grated nutmeg — A little goes a long way to add depth. Pre-ground nutmeg is perfectly fine.
- 1/4 teaspoon fine sea salt — Enhances all the other flavors in the filling.
For the Crisp Topping
- 3/4 cup all-purpose flour — Forms the base of the crumble. I don’t recommend swapping for whole wheat here, as it can make the topping dense.
- 1/3 cup granulated sugar — Contributes to the crisp, crunchy texture of the finished streusel.
- 1/3 cup light brown sugar, firmly packed — Its molasses content adds moisture and a rich, caramel-like flavor.
- 1/4 teaspoon fine sea salt — Balances the sweetness and makes the topping taste more complex.
- 1/2 cup old-fashioned rolled oats — They provide the signature chew and rustic texture. Don’t use quick-cooking or instant oats.
- 1/2 cup (1 stick) cold unsalted butter, cubed — This must be cold to create flaky pockets in the topping as it bakes. Unsalted lets you control the salt level.
For Serving (Optional)
- Vanilla ice cream or lightly sweetened whipped cream — The classic, non-negotiable accompaniment in my book. The cold creaminess is the perfect foil for the warm dessert.
Useful Equipment
You likely have most of these tools already. A couple of them make the process significantly easier.
- A 9-inch pie dish or 8×8-inch baking dish — Either works perfectly. I prefer ceramic or glass for even browning.
- Large and medium mixing bowls — You’ll need one for the apples and one for the dry topping ingredients.
- Rimmed baking sheet — Placing your baking dish on this catches any bubbling juices, saving you from a messy oven cleanup.
- Pastry blender or two forks — For cutting the cold butter into the topping. Your fingertips work, but a tool keeps the butter colder.
- Wire cooling rack — Essential for letting the crisp rest after baking so the filling can set properly.
Steps to Make Ina Garten Apple Crisp
The process is straightforward, but a few key techniques ensure the best result. Follow these steps in order.
- Preheat and Prep — Heat your oven to 350°F / 177°C with a rack in the center. Grease your baking dish. This moderate heat cooks the apples through without burning the topping.
- Coat the Apples — In a large bowl, toss the apple slices with lemon juice. This simple step prevents browning and adds flavor.
- Season the Filling — Add the sugar, flour, cinnamon, nutmeg, and salt to the apples. Fold gently until evenly coated. The flour is your secret against a runny bottom.
- Transfer and Rest — Pour the apple mixture into your dish, press into an even layer, and let it sit. This brief rest helps the sugar start pulling juice from the apples.
- Mix Dry Topping — In a separate bowl, whisk together the flour, both sugars, salt, and oats. The brown sugar is key for flavor and moisture.
- Cut in the Butter — Add the cold, cubed butter. Use your fingertips or a pastry blender to work it in until the mixture looks like coarse meal with some pea-sized butter bits. Cold butter is non-negotiable for a crisp texture.
- Top Evenly — Sprinkle the crumb mixture over the apples in a loose, even layer. Don’t press it down—let it be fluffy.
- Bake on a Sheet — Place the dish on a rimmed baking sheet and bake for 50 to 60 minutes. You’re looking for a deep golden-brown topping and vigorous bubbling at the edges.
- Rest is Crucial — Move the crisp to a wire rack and let it cool for at least 20-25 minutes. This allows the filling to thicken so it doesn’t run everywhere when you serve it.
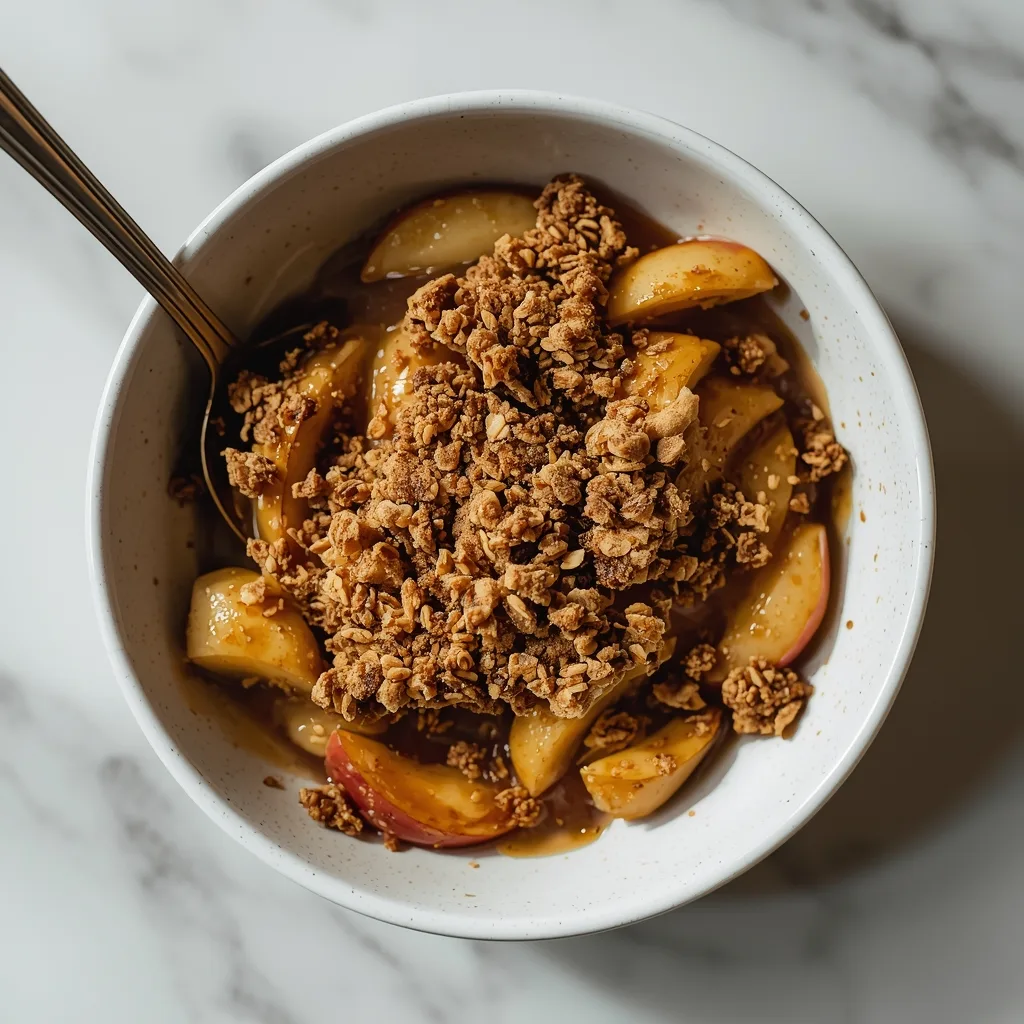
- Serve Warm — Spoon into bowls and top with vanilla ice cream or whipped cream. The contrast of temperatures is what makes it sublime.
What Went Wrong and How I Fixed It
I’ve made my share of mistakes with crisps over the years. Here are the common pitfalls and how to avoid them.
- Soggy Topping — This usually means the butter was too warm or overworked. Always start with butter straight from the fridge and stop mixing when it looks crumbly.
- Watery Filling — Skipping the flour in the apple mixture or using very juicy apple varieties can cause this. Granny Smiths and the measured flour are your best defense.
- Burnt Edges, Raw Center — An oven that runs too hot or a dish placed too high can cause this. Use an oven thermometer and bake on the center rack.
- Topping Sinks In — If the topping disappears into the filling, the apples weren’t pressed into a compact, even layer before adding the crumble.
- Lack of Flavor — Forgetting the salt in either the filling or topping makes everything taste flat. Don’t skip it—it’s a flavor enhancer, not just a seasoning.
Ways to Make Ina Garten Apple Crisp Healthier
If you’re looking for a slightly lighter version, these swaps can help without sacrificing too much of the classic appeal.
- Reduce Added Sugar — Cut the granulated sugar in the filling by a tablespoon or two. The apples and brown sugar in the topping still provide plenty of sweetness.
- Boost Whole Grains — Substitute half of the all-purpose flour in the topping with whole wheat flour or almond flour for added fiber and nutrients.
- Incorporate Nuts — Add a quarter cup of chopped walnuts or pecans to the topping for healthy fats, extra crunch, and protein.
- Control Portion Size — Serve smaller portions in ramekins. It feels just as indulgent but naturally limits the serving size.
Alternative Ingredients for Ina Garten Apple Crisp
Don’t have every ingredient on hand? These substitutions work well in a pinch.
- Granny Smith Apples → A Mix — Use half Granny Smith and half Honeycrisp or Braeburn for a sweeter, more complex filling.
- Rolled Oats → Chopped Nuts — Replace the oats with an equal amount of chopped pecans or almonds for a nuttier, gluten-free topping.
- All-Purpose Flour → Gluten-Free Blend — Use a 1:1 gluten-free flour blend in both the filling and topping for a celiac-friendly version.
- Light Brown Sugar → Dark Brown Sugar — Dark brown sugar has more molasses, which will give the topping a deeper, almost caramel-like flavor.
- Unsalted Butter → Salted Butter — You can use salted butter, but omit the added 1/4 teaspoon of salt in the topping to avoid over-salting.
What to Serve With Ina Garten Apple Crisp
This dessert is fantastic on its own, but a thoughtful pairing can turn it into a special occasion. Here are a few ideas.
- Vanilla Bean Ice Cream — The classic pairing for a reason. The cold, creamy vanilla melts into the warm crisp perfectly.
- Sharp Cheddar Cheese — A small slice on the side is a wonderful, old-fashioned tradition. The salty, sharp cheese contrasts the sweet apples.
- Hot Coffee or Tea — A cup of black coffee or strong Earl Grey tea cuts through the sweetness and makes the dessert feel more complete.
- Caramel Sauce Drizzle — For the ultimate indulgence, warm up some store-bought or homemade caramel and drizzle it over the top.
- Spiked Whipped Cream — Fold a tablespoon of bourbon or Calvados into your whipped cream for a sophisticated adult twist.
Best Tips for Ina Garten Apple Crisp
These are the little things I’ve learned that make a big difference in the final dish.
- Keep Everything Cold — Your butter for the topping should be straight from the refrigerator. This ensures a flaky, crisp texture instead of a greasy one.
- Uniform Apple Slices — Cut your apples into consistent 1/2-inch slices so they cook at the same rate. No one wants a mix of mushy and crunchy apples.
- Don’t Overmix the Topping — Stop blending when you still see small lumps of butter. Those lumps create the coveted crispy bits.
- Use the Baking Sheet — Always bake the dish on a rimmed sheet. It’s insurance against sticky, burnt fruit juices dripping in your oven.
- Patience is a Virtue — Letting the crisp rest for the full 20-25 minutes after baking is not a suggestion. It allows the juicy filling to thicken up properly.
- Taste Your Apples — If your Granny Smiths are especially tart, you may want to add an extra tablespoon of sugar to the filling.
Unique Takes on Ina Garten Apple Crisp
Once you’ve mastered the basic recipe, try one of these fun variations to mix things up.
- Pear and Ginger Twist — Swap half the apples for ripe Bartlett pears and add a teaspoon of finely chopped crystallized ginger to the filling.
- Berry Apple Fusion — Add a cup of fresh or frozen blueberries or raspberries to the apple mixture for a burst of color and tartness.
- Oatmeal Cookie Style — Stir a handful of raisins or dried cranberries and a 1/2 teaspoon of vanilla extract into the topping mixture before sprinkling.
- Savory Herb Note — Add a pinch of finely chopped fresh rosemary or thyme to the apple filling for a surprising and sophisticated aromatic layer.
- Individual Servings — Divide the filling and topping among 4-6 ramekins or small oven-safe dishes. Reduce the baking time to 30-35 minutes.
How to Store Ina Garten Apple Crisp
Proper storage keeps your leftovers tasting great. Here’s how to handle them.
- Short-Term Refrigeration — Once completely cool, cover the baking dish tightly with plastic wrap or transfer portions to an airtight container. It keeps well for up to 4 days.
- Freezing the Whole Crisp — Wrap the cooled, entire crisp tightly in plastic wrap, then in foil. Label it and freeze for up to 3 months.
- Freezing Individual Portions — This is my preferred method. Portion cooled crisp into freezer-safe containers for easy, single-serving reheating.
- Countertop Caution — Due to the dairy in the topping and the moist fruit, I don’t recommend leaving it at room temperature for more than a few hours.
How to Reheat Ina Garten Apple Crisp
Reheating is key to restoring that just-baked texture, especially for the topping.
- Oven Method (Best) — Preheat your oven to 325°F / 163°C. Place the crisp (covered with foil if it’s browning too quickly) in the oven for 15-20 minutes for a full crisp, or 8-10 minutes for a single portion, until warmed through.
- Air Fryer Hack — For a single serving, reheat in a preheated air fryer at 300°F for 4-6 minutes. This can help re-crisp the topping beautifully.
- Microwave (Quick Fix) — Microwave a portion on medium power for 60-90 seconds. Know that this will soften the topping significantly, but it’s fast.
FAQs
Can I make Ina Garten’s Apple Crisp ahead of time?
Absolutely. You can assemble the crisp up to a day in advance, cover it tightly, and refrigerate it before baking. Add 5-10 minutes to the bake time since it will be going into the oven cold.
What’s the best apple for apple crisp besides Granny Smith?
You want a firm, tart apple that holds its shape. Honeycrisp, Braeburn, and Jonagold are all excellent choices. I often use a mix for a more complex flavor.
Why is my topping not crispy?
The most common culprits are butter that was too soft or an under-baked crisp. Ensure your butter is cold, and bake until the topping is a deep golden brown and you see steady bubbling.
How long does Ina Garten’s Apple Crisp last in the fridge?
Stored properly in an airtight container, it will stay fresh for about 4 days. The topping will soften over time, but reheating in the oven will help restore some crunch.
Can I freeze Ina Garten Apple Crisp?
Yes, it freezes very well for up to 3 months. Thaw it overnight in the refrigerator before reheating it in the oven for the best texture.
Do I have to peel the apples?
Technically, no. The peels will soften during baking. However, I prefer to peel them for a more uniform, tender filling without any chewy bits.
Nutritional Breakdown (Per Serving)
Based on 1 serving equals one-quarter of the full recipe, without ice cream or whipped cream.
- Calories: 625
- Protein: about 5g
- Fat: 24g
- Carbohydrates: 104g
- Fiber: 7g
- Sugar: around 73g
- Sodium: 298mg
Try These Recipes
- Ina Garten Chocolate Chunk Blondies
- Ina Garten Peach Raspberry Crisp
- Ina Garten-Inspired Sweet Potato Pie
- Ina Garten’s Classic Hamantaschen
Conclusion
This recipe delivers everything you want in a classic dessert: warmth, comfort, and a perfect balance of textures. It’s forgiving enough for beginners yet satisfying for any baker. I hope this guide gives you the confidence to make this Ina Garten apple crisp your own new tradition.
PrintIna Garten Apple Crisp
This classic apple crisp features tender, cinnamon-spiced apples beneath a buttery, crisp oat topping. The contrast between the warm, soft fruit and the crunchy, golden-brown streusel creates a perfect balance of textures and flavors, making it an ideal comfort dessert.
- Prep Time: 25
- Cook Time: 55
- Total Time: 80
- Yield: 4 1x
- Category: Dessert
- Method: Baking
- Cuisine: American
Ingredients
- For the Apple Filling:
- 2 1/2 pounds (about 5–6 medium) Granny Smith apples, peeled, cored, and cut into 1/2-inch thick slices
- 1 tablespoon fresh lemon juice
- 1/3 cup granulated sugar
- 2 tablespoons all-purpose flour
- 1 teaspoon ground cinnamon
- 1/4 teaspoon freshly grated nutmeg
- 1/4 teaspoon fine sea salt
- For the Crisp Topping:
- 3/4 cup all-purpose flour
- 1/3 cup granulated sugar
- 1/3 cup light brown sugar, firmly packed
- 1/4 teaspoon fine sea salt
- 1/2 cup old-fashioned rolled oats
- 1/2 cup (1 stick) cold unsalted butter, cut into 1/2-inch cubes
- For Serving (Optional):
- Vanilla ice cream or lightly sweetened whipped cream
Instructions
- Preheat your oven to 350°F / 177°C. Position a rack in the center of the oven. This moderate temperature allows the apples to cook through and become tender without the topping burning before the filling is done. Grease a 9-inch pie dish or an 8×8-inch baking dish with butter or non-stick spray.
- In a large mixing bowl, combine the sliced apples and lemon juice. Toss thoroughly to coat every piece. The acid in the lemon juice prevents enzymatic browning, keeping the apples looking fresh, and adds a subtle brightness that balances the sweetness.
- To the apples, add the 1/3 cup granulated sugar, 2 tablespoons flour, cinnamon, nutmeg, and 1/4 teaspoon salt. Use a rubber spatula to fold gently until the apples are evenly coated. The flour will help thicken the natural juices released during baking into a luscious sauce, preventing a watery bottom.
- Transfer the seasoned apple mixture to the prepared baking dish, spreading it into an even layer. Press down gently to eliminate large air pockets. Let this sit while you prepare the topping; this brief rest allows the sugar to begin drawing out moisture from the apples.
- In a separate medium bowl, whisk together the 3/4 cup flour, 1/3 cup granulated sugar, brown sugar, 1/4 teaspoon salt, and rolled oats. The brown sugar adds moisture and a deeper molasses flavor to the crisp topping, while the oats provide essential texture and chew.
- Add the cold, cubed butter to the dry topping mixture. Using your fingertips, a pastry blender, or two forks, work the butter into the flour mixture until it resembles coarse meal with some pea-sized lumps of butter remaining. The butter must be cold to create a flaky, crisp texture as it melts and creates steam pockets in the oven.
- Sprinkle the crumb topping evenly over the apple filling, covering it completely. Do not press or pack the topping down. An even, loose layer ensures consistent browning and allows heat to circulate properly for even cooking of the fruit beneath.
- Place the baking dish on a rimmed baking sheet to catch any potential bubble-overs. Bake in the preheated oven for 50 to 60 minutes. The crisp is done when the topping is a deep golden brown and the filling is visibly bubbling vigorously around the edges.
- Remove the crisp from the oven and place it on a wire cooling rack. It is crucial to let it rest for at least 20-25 minutes before serving. This resting period allows the bubbling fruit filling to thicken and set slightly, making it easier to serve and preventing burns.
- Serve warm, spooned into bowls. Top each serving with a scoop of high-quality vanilla ice cream or a dollop of freshly whipped cream. The contrast of warm crisp and cold cream is essential to the classic experience.
Notes
Storage: Cool completely, then cover tightly with plastic wrap or transfer to an airtight container. Refrigerate for up to 4 days. Freezing: Wrap the cooled, whole crisp (or individual portions) tightly in plastic wrap and then aluminum foil. Freeze for up to 3 months. Thaw overnight in the refrigerator before reheating. Reheating: For best texture, reheat in a preheated 325°F / 163°C oven until warmed through, about 15-20 minutes for a full crisp or 8-10 minutes for individual portions. Microwave reheating will soften the topping.
Nutrition
- Calories: 625
- Sugar: 73g
- Sodium: 298mg
- Unsaturated Fat: 15g
- Carbohydrates: 104g
- Fiber: 7g
- Protein: 5g
- Cholesterol: 61mg
Keywords: ina garten apple crisp, apple crisp recipe, baked apple dessert, easy fruit crisp, oat topping, cinnamon apples, comfort food dessert, fall baking, family dessert, holiday dessert, buttery streusel, fruit crumble